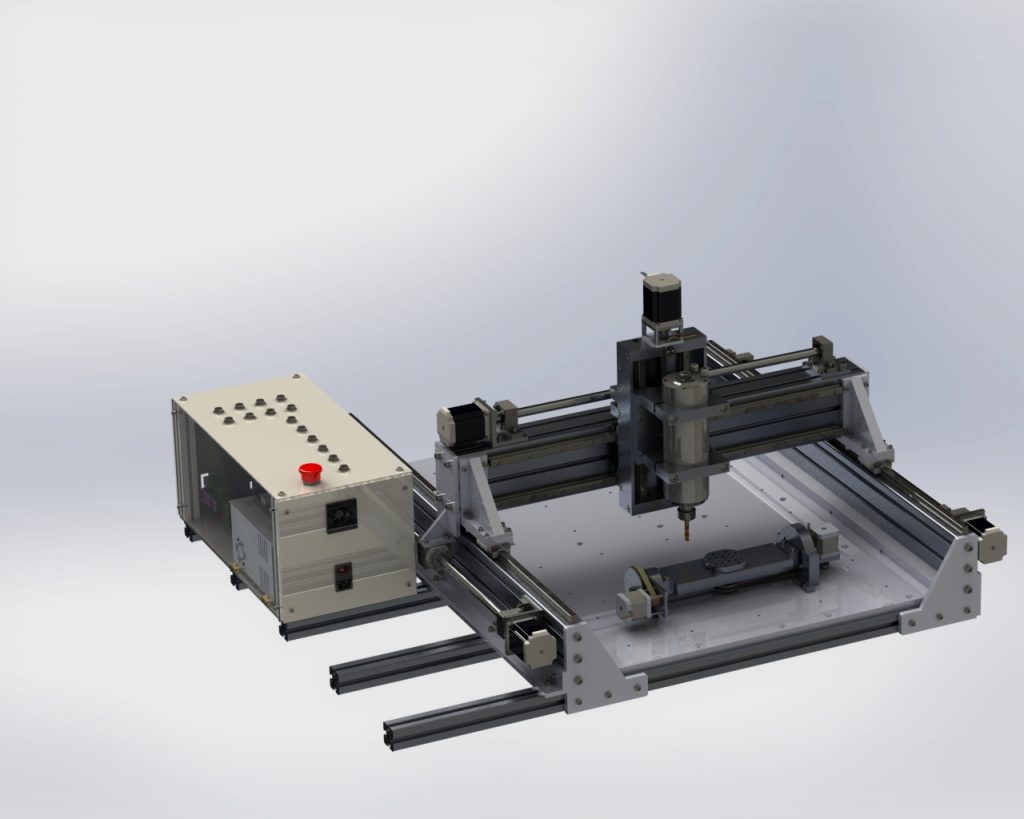
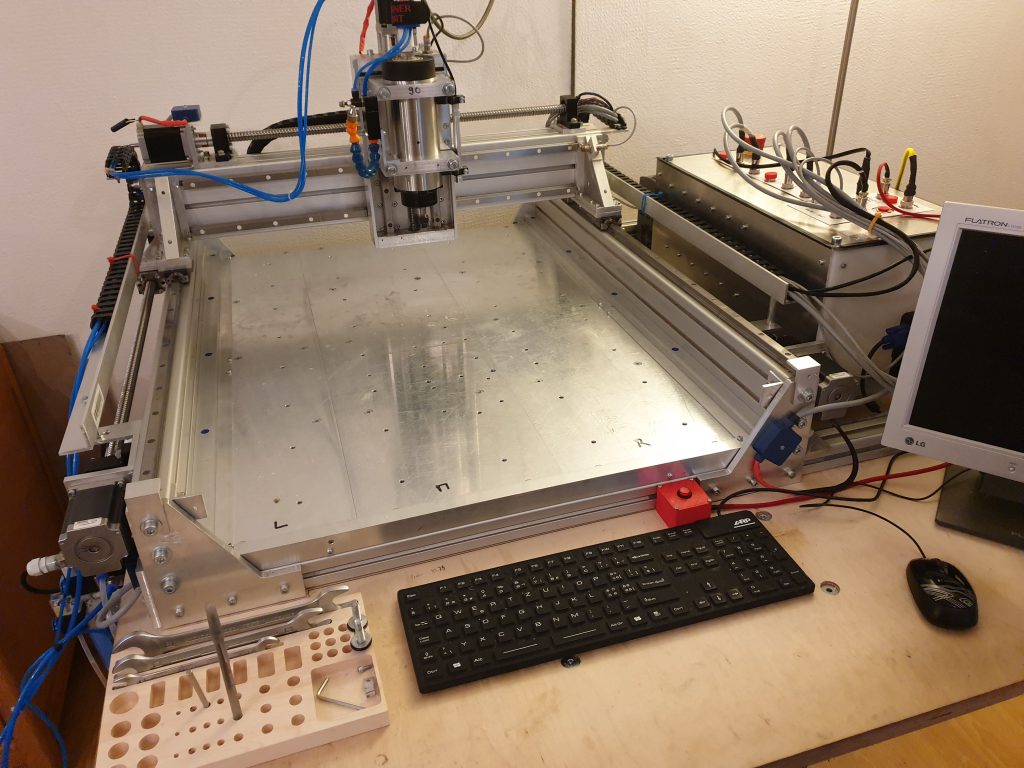
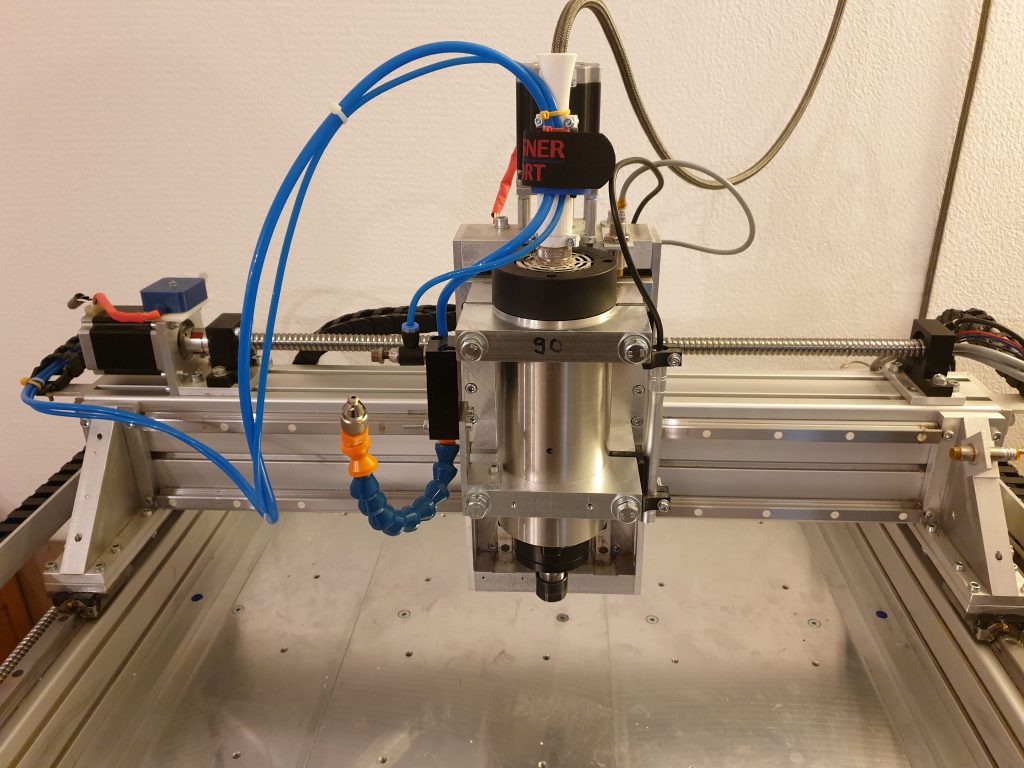
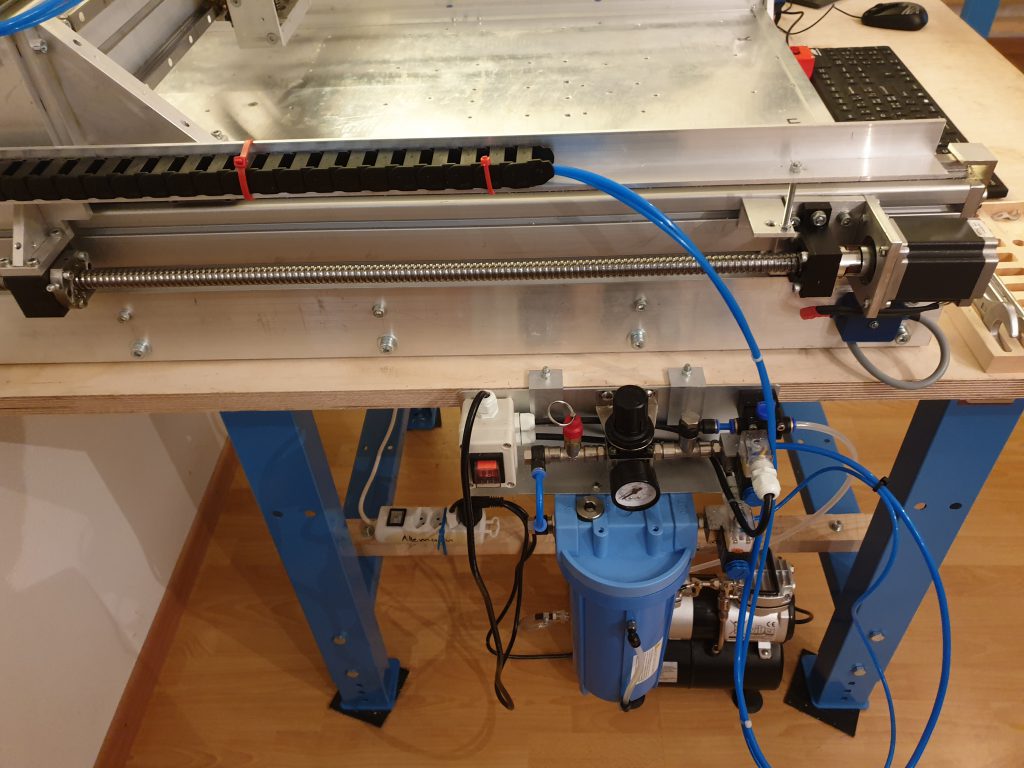
Updated 3 Axis CNC Platform.
More stable and rigid than Version 1 and 3.
Milling Aluminium is no problem. Working area 550 x 700 x 80.
Checkout the Updates at the Bottom of the Page!
Now using UCCNC with a new Controller, based on UC300ETH and UB1
Buy Parts
- Older Version with RPI Controller: Kaufteile
Attention: Raspberry based electronics now replaced with new 6 Axis Controller , based on UB1 and UC300ETH Breakout Boards and Control Boards. This configuration can run UCCNC or Mach Controller software on a Standard Windows 10 PC, connected via Ethernet Port to the Controller
- New Version with external Stepper and UC300ETH/UB1 Controller: Kaufteile
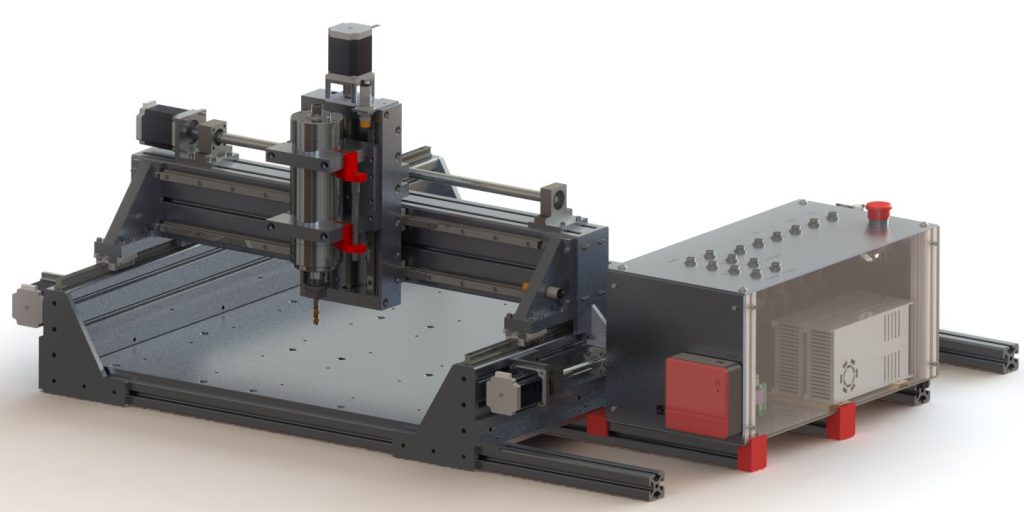
For all exact dimensions, check out the CAD models first and get familiar with the design of the whole thing.
| 1 | Mount the Aluminium profiles and the Base Plate | |
| 2 | Assemble the whole thing according to the CAD model
You need Screws M3, M5, M6, M8 various length |
- Y Axis first - X Axis second - Z Axis last |
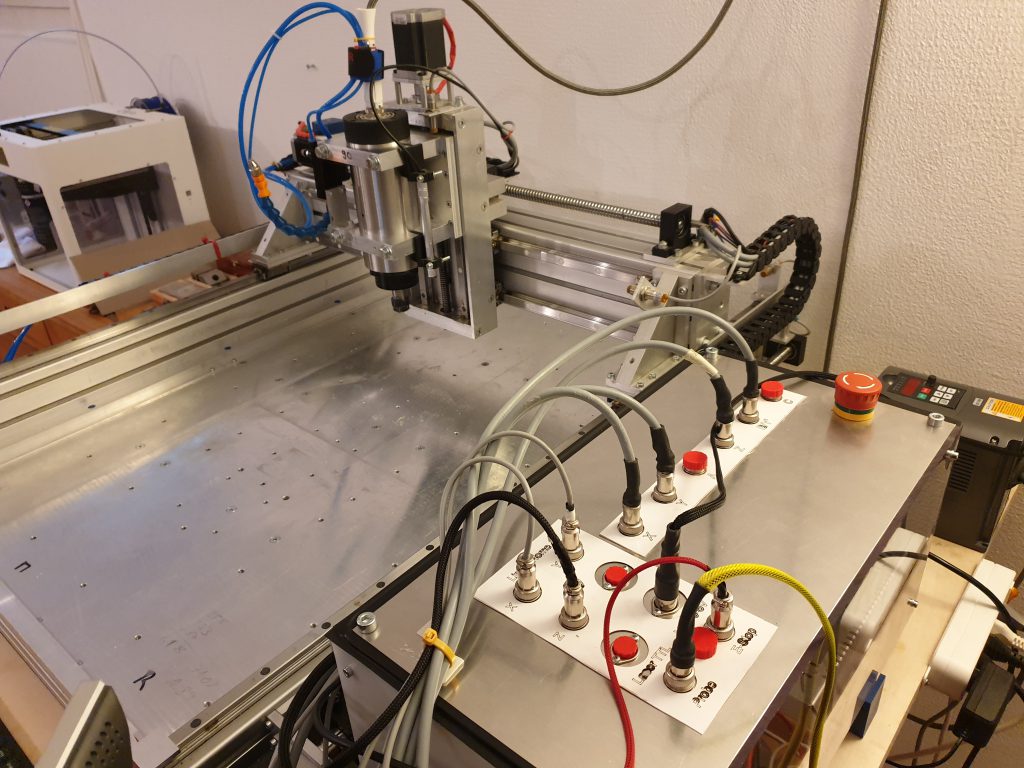
| 3 | Wire the Stepper motors and end-switches. I used 0.5mm^2 Litze wires for everything. | See images for more details. |
4
new Version below |
Configure the Electronics and Software:
Connect the Raspberry PI and the CNC Hat Stepper drivers get connected to the Raspberry CNC Hat. I did run the steppers with 32 Microsteps (DRV8825 Driver) Clone the Y axis Important Links Set the Jumpers correctly to clone the Y Axis and for 32 Microsteps Install the Image to the Raspberry. This includes everything you need! (bCNC GCODE Sender, GRBL, etc.) Setup GRBL with the correct Machine settings. For power supply, I was using an old PC power supply. Here is a great tutorial, how to do it! |
I used NEMA 23 Stepper Motors with DRV8825 Stepper driver |
5
new version below |
Connect your Raspberry with a USB WIFI dongle to your network and copy your GCODE to the Raspberry. I Used HSMxPress in SolidWorks 2013 and EstlCAM Software to generate the .NC files containing the GCODE. Press start in bCNC! | |
new version below |
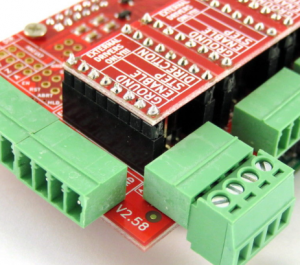
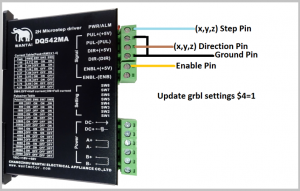
I replaced the Pololu Driver DRV 8825 with more powerful external Drivers DQ542MA . Just replaced the DRV8825 with External Driver Sockets to connect the external drivers to the terminals on the CNC Hat from Protoneer.
Attention: By default, the stepper enable pin is high to disable and low to enable. The DQ542 needs the opposite, just invert the stepper enable pin by setting GRBL $4=1 |
|
| new version below |
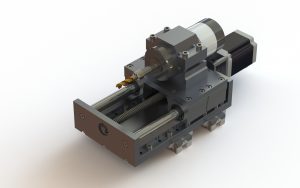
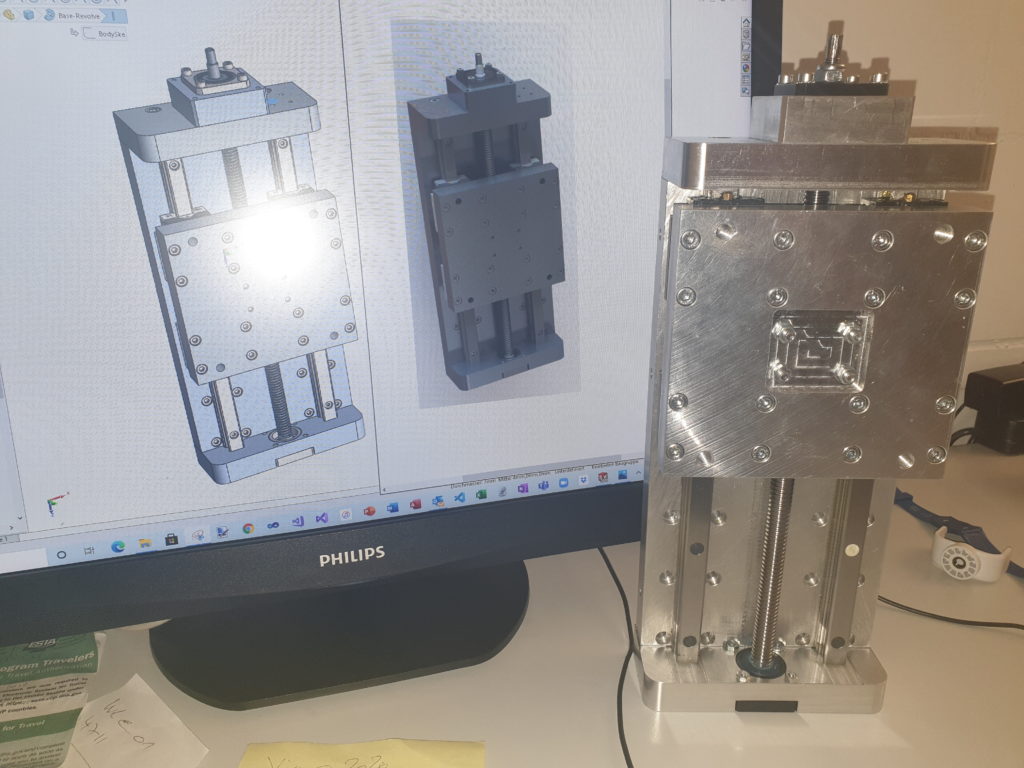
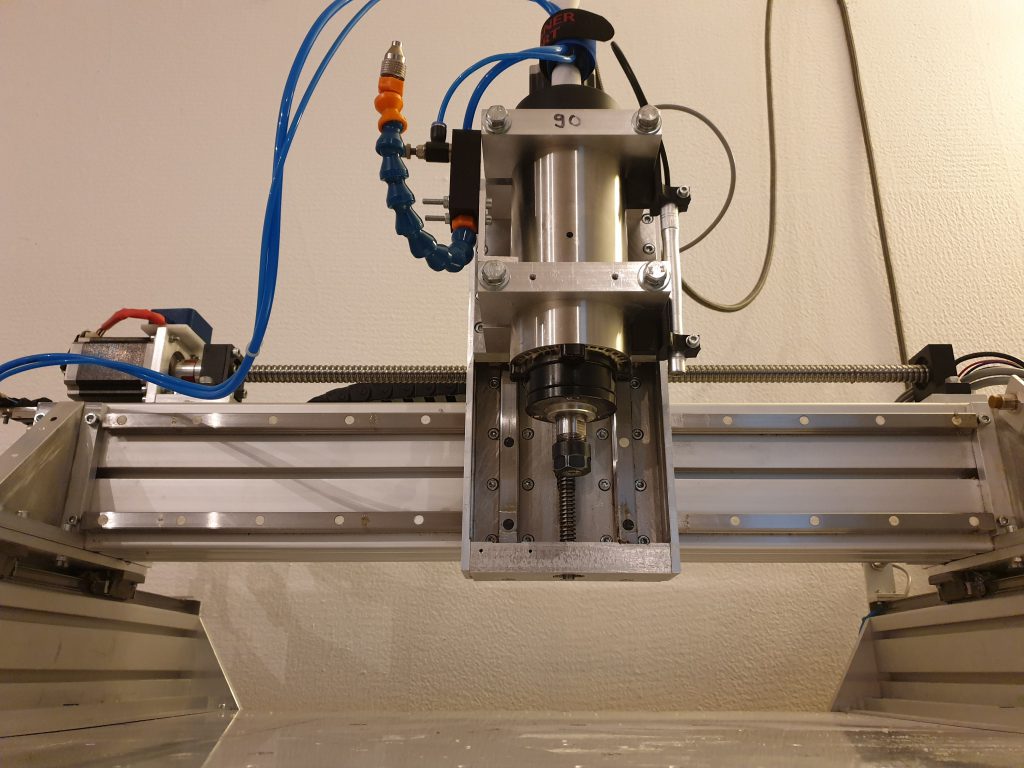
Made a new Z-Axis for more Stability.
Used Guided 16mm Linear Rails and some other stability improvements. Get the Models here: New Z-Axis |
|
new version below |
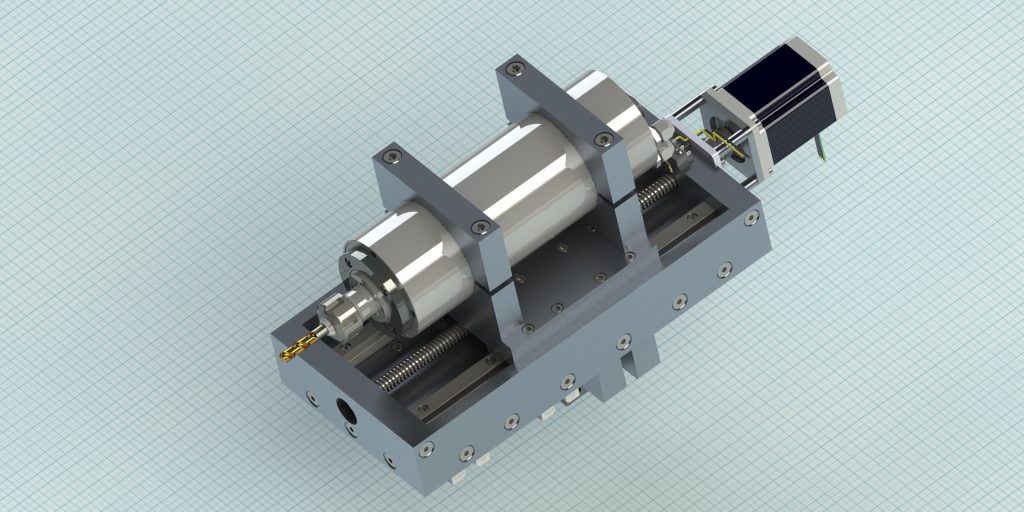
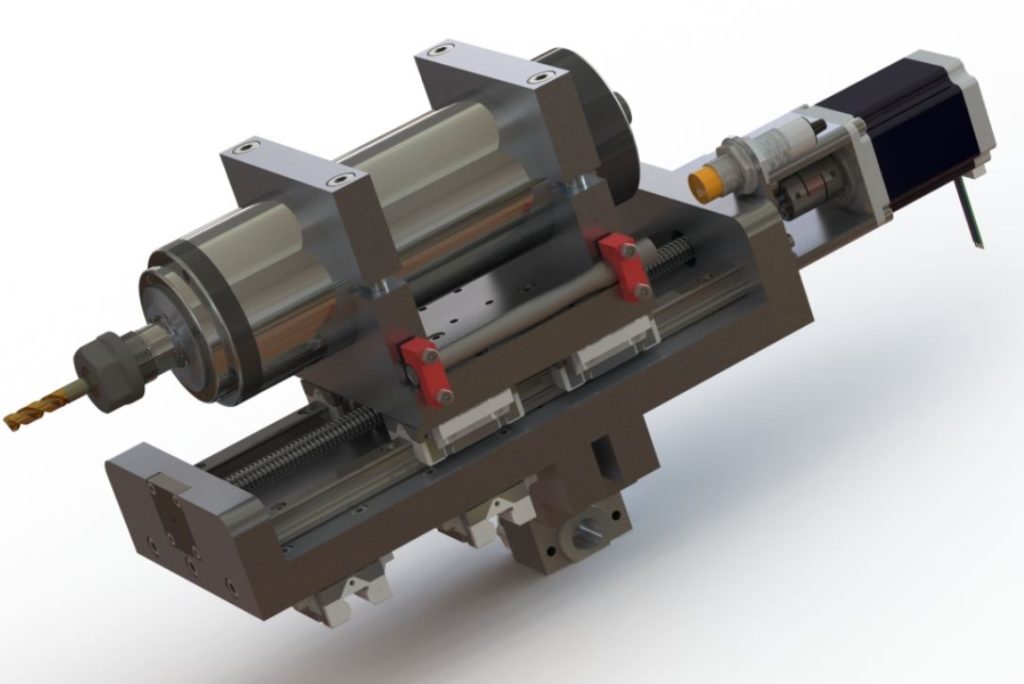
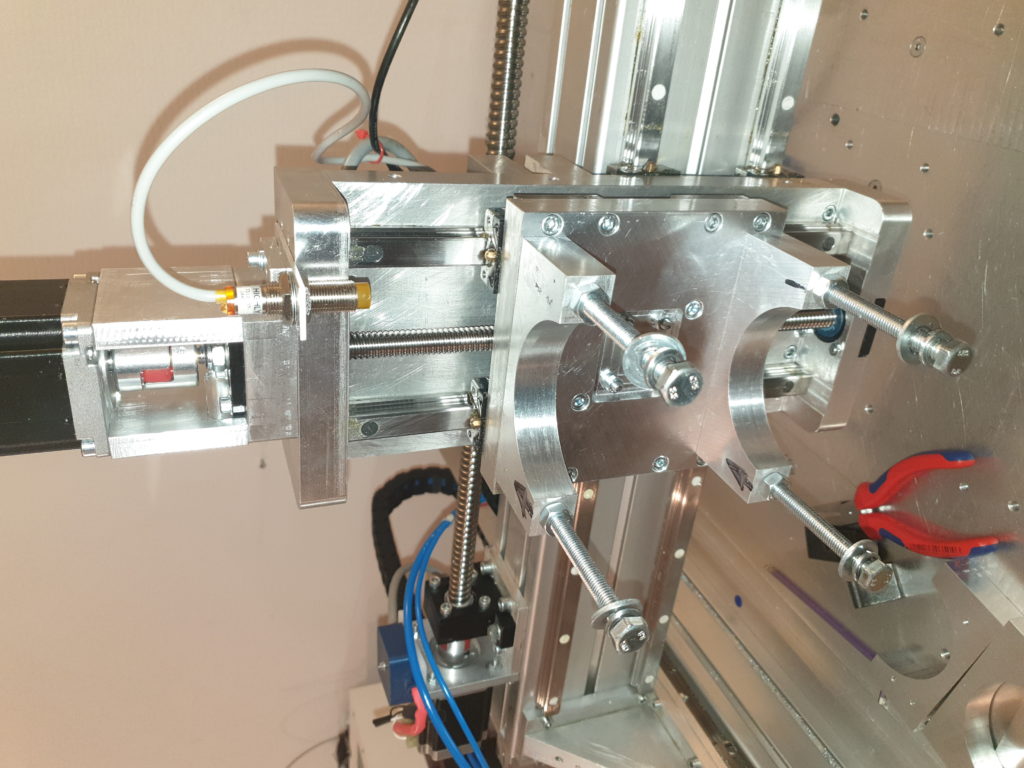
Another Z-Axis Improvement: Get the Models here | |
And another Z Axis improvment:
Get the Models here: Z-Axis-04 |
||
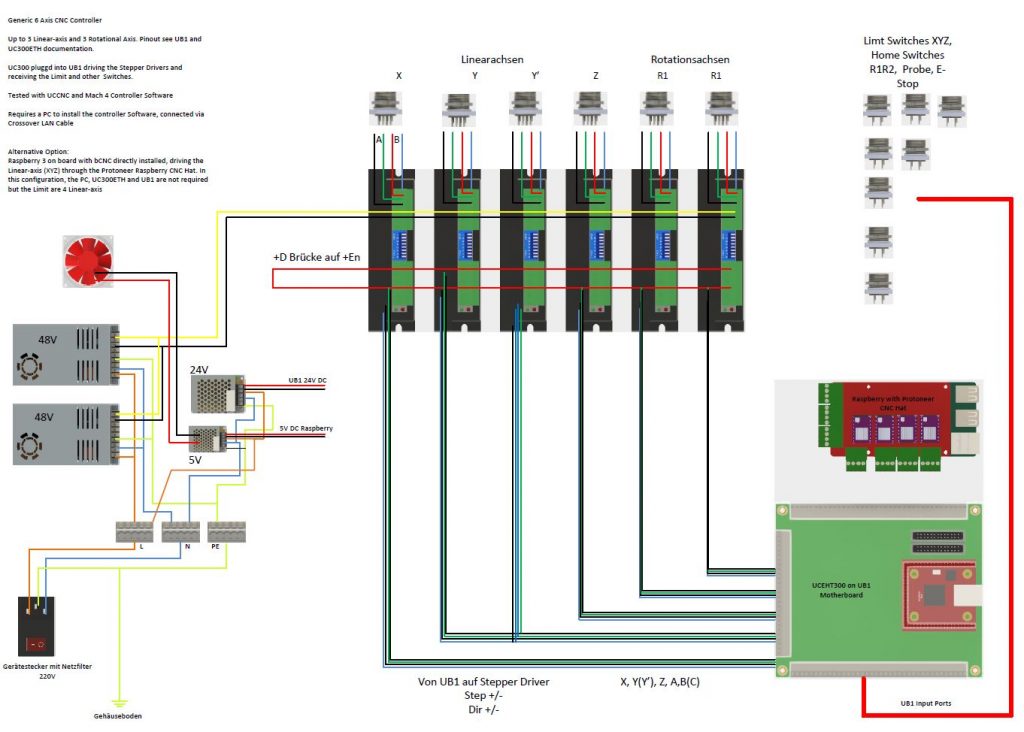
| Now using my new 6 Axis Controller and UCCNC as a Controller Software, in Combination with the Board UC300ETh and UB1 Breakout Board :
Details of the Controller here: UCCNC-UC300ETH-UB1 |
Electronics Schema |
CAD Model on GrabCAD, including a full Step Model and SolidWorks Models

